Attention to detail kind of people - we see you! You love to get crafty and keeping up with current wedding trends, and perfecting the aesthetics of your wedding has become a treasured hobby. Well, you're our kind of people, and for you, wax seals are an absolute must for your wedding invites. Not only adding undoubtable charm and a sense of quality to your wedding invitations, wax seals also make for an enjoyable ritual that you and your partner can savour together. But where to start with your wedding invitation wax seals? In this article, we cover everything you need to know. Read on to discover the wold of wax seals, and how you can use wax seal stamps and stoves to craft wax seals of your own.
Wedding wax seals, stamps and stoves
You only send out save the dates and wedding invitations once in your life. And so we believe, it's best to make them count!
There's no doubting that the actual invite itself is highly important (with attention given to card quality, fonts, colours, style and more), but the envelope and how you seal it can really 'seal the deal'.
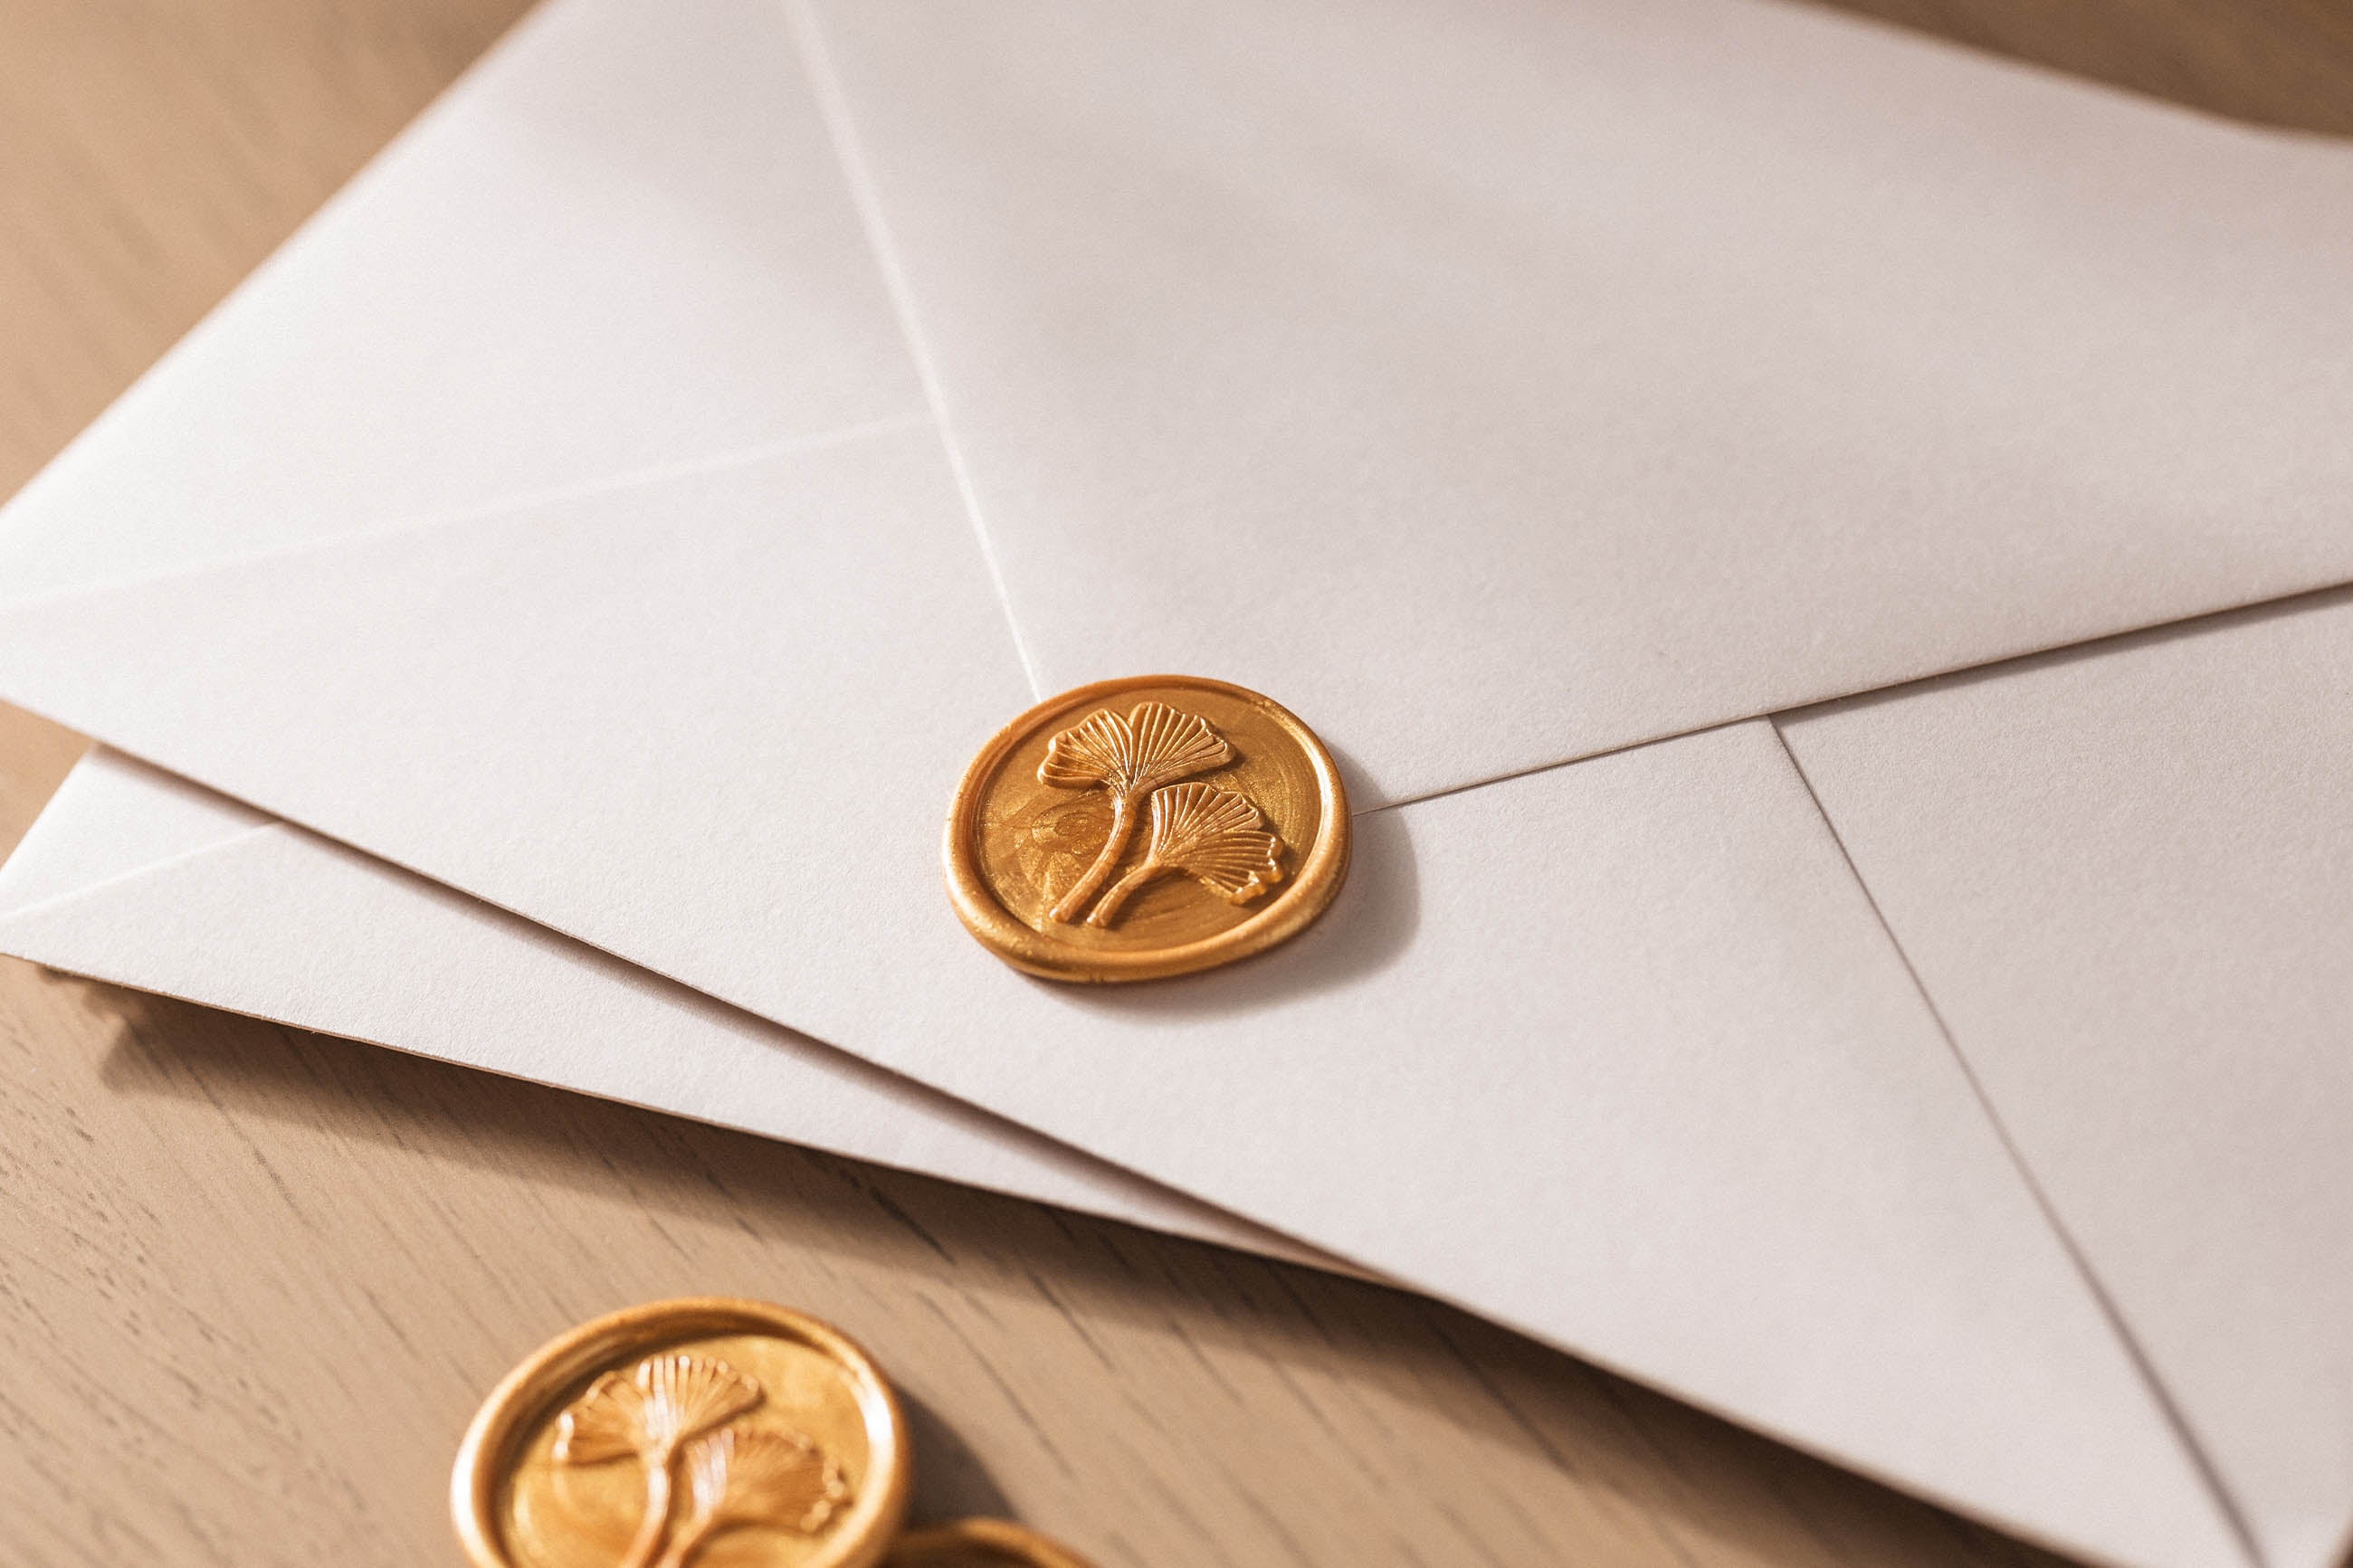
Wedding wax seals have become coveted elements in the realm of wedding invitations. Without a doubt, they adorn your invitations with a touch of elegance and classic charm that will totally impress your guests. Whether you opt for classy monograms, delicate floral motifs, or other creative symbols, wax seals offer a timeless and sophisticated touch.
But why not add the ultimate personalised touch? With wax seal stamps and stoves, you can add the beautiful finishing touch to your wedding invites with a romantic and traditional ritual that you'll always remember.
In this article, we will explore the art of making customised wax seals using stamps and stoves, to create exquisite wedding invitations that reflect your unique style and set your wedding off to a fabulous start.

What are wax seals?
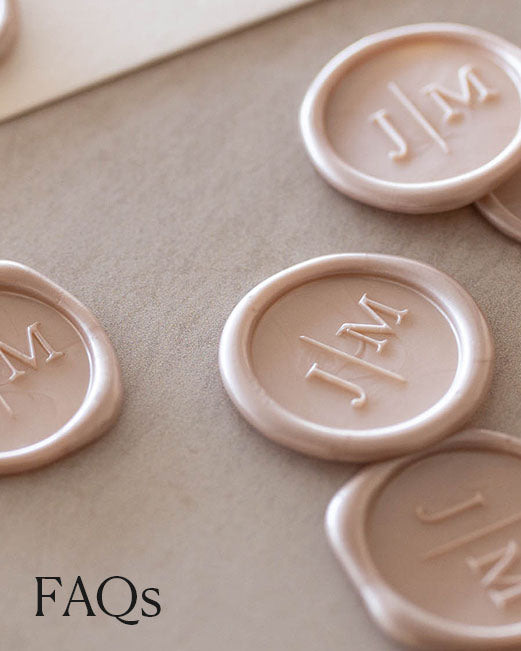
Wax seals for letters are a nostalgic and elegant way to add a personal touch and seal envelopes with a touch of timeless charm.
In today's digital age, where communication has become mostly virtual and carried out online, wax seals offer a delightful throwback to a time when tangible gestures and attention to detail mattered. They bring a touch of the traditional and individuality to your wedding invitations, stationery, and personal letters - something that can't be achieved without them!
And wax seals have a rich history dating back centuries. Originally used to authenticate letters and protect their contents, today they have evolved into a symbol of style and personalisation and a mark of high-quality.
Looking for a something to elevate your wedding invitations? Wax seals could be for you! They may be a small detail, but they offer a meaningful way to make your correspondence stand out and leave a lasting impression.
In what ways can you use wax seals for your wedding?
Since wax seals are created in order to embellish and seal envelopes, they can be used for a number of purposes. So naturally, in the lead up to your wedding, there are a few main things that your wax seals can be used for:
- Save the dates
- Wedding invitations
- Thank you cards
But the list doesn't end there!
At your wedding event there will be plenty of opportunities to use wax seals for further purposes, such as on your bouquets as a finishing touch, on wine bottles, on cake decorations, on centre pieces or anywhere else you might imagine some personalisation and attention to detail to enhance your wedding. Depending on what your favours are, you could also decorate those with a wax seal.

Why buy your own wax seal stamp and stove?
So if you can simply buy wax seals, why buy your own wax seal stamp and stove?The answer is simply that investing in your own wax seal stamp and stove for creating wedding invitations goes beyond the sheer beauty it imparts.
Offering you and your partner, family or friends an evening of crafty fun and enjoyment, a wax seal stamp and stove turns the wedding invitation process into an experience. Ultimately, selecting the perfect stamp design, melting the wax and creating a unique seal that exudes your personality and style is fulfilling!
So if you're the kind of person who enjoys hands-on work and enjoys the DIY aspect of your wedding planning, wax seal stamp and stoves could be for you. Get ready to unleash your inner craftiness and make your wedding invitations truly extraordinary!
The tools you need for wax seals
Sealing wax
First, you'll need to pick the perfect wax to complement your invitations and wedding colours! You could pick traditional colours like red or burgundy for a luxury and old school vibe, but you can also opt for pastel shades, or sparkly golds. It's all up to you!

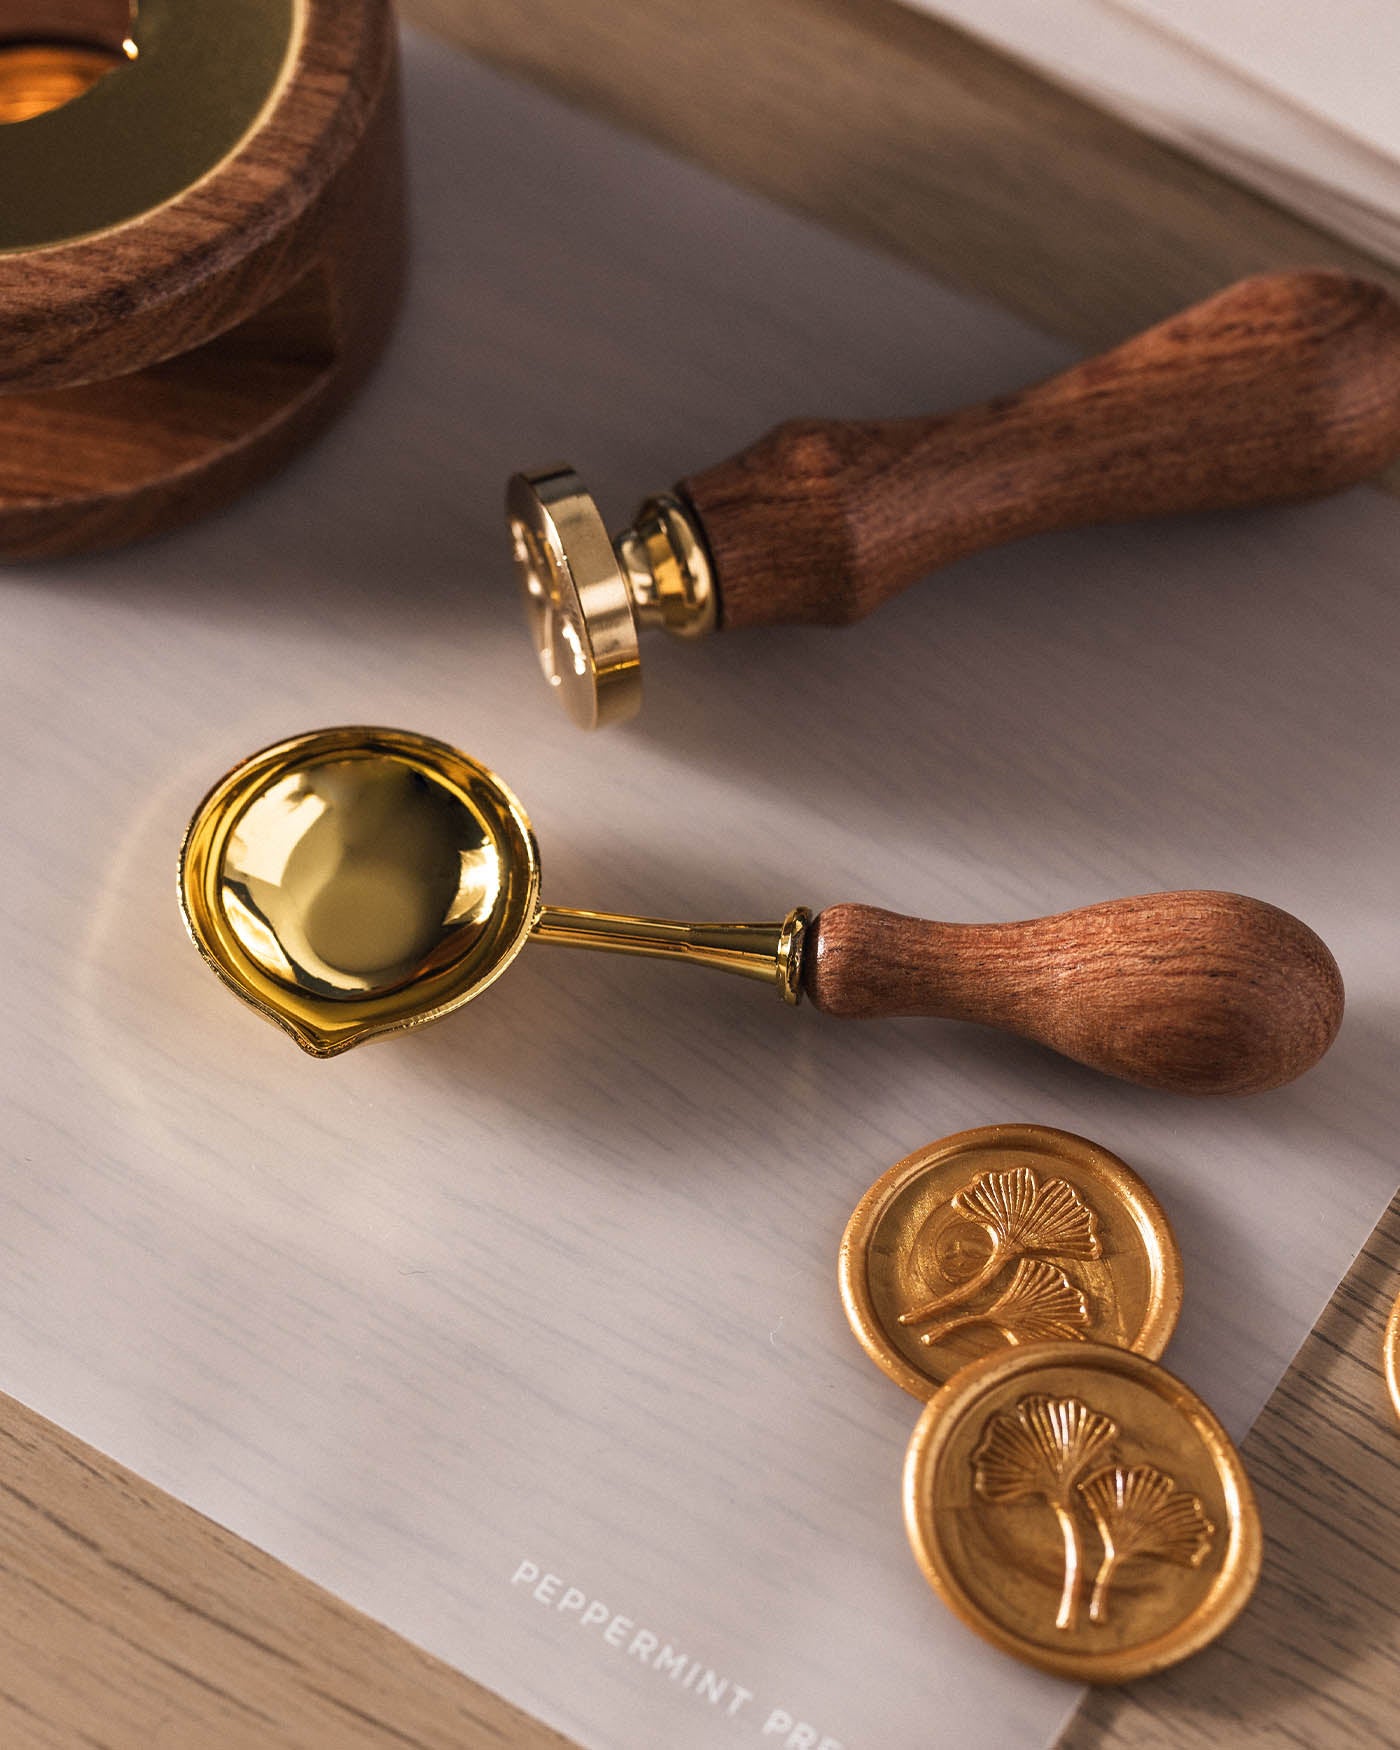
Wax seal stamp
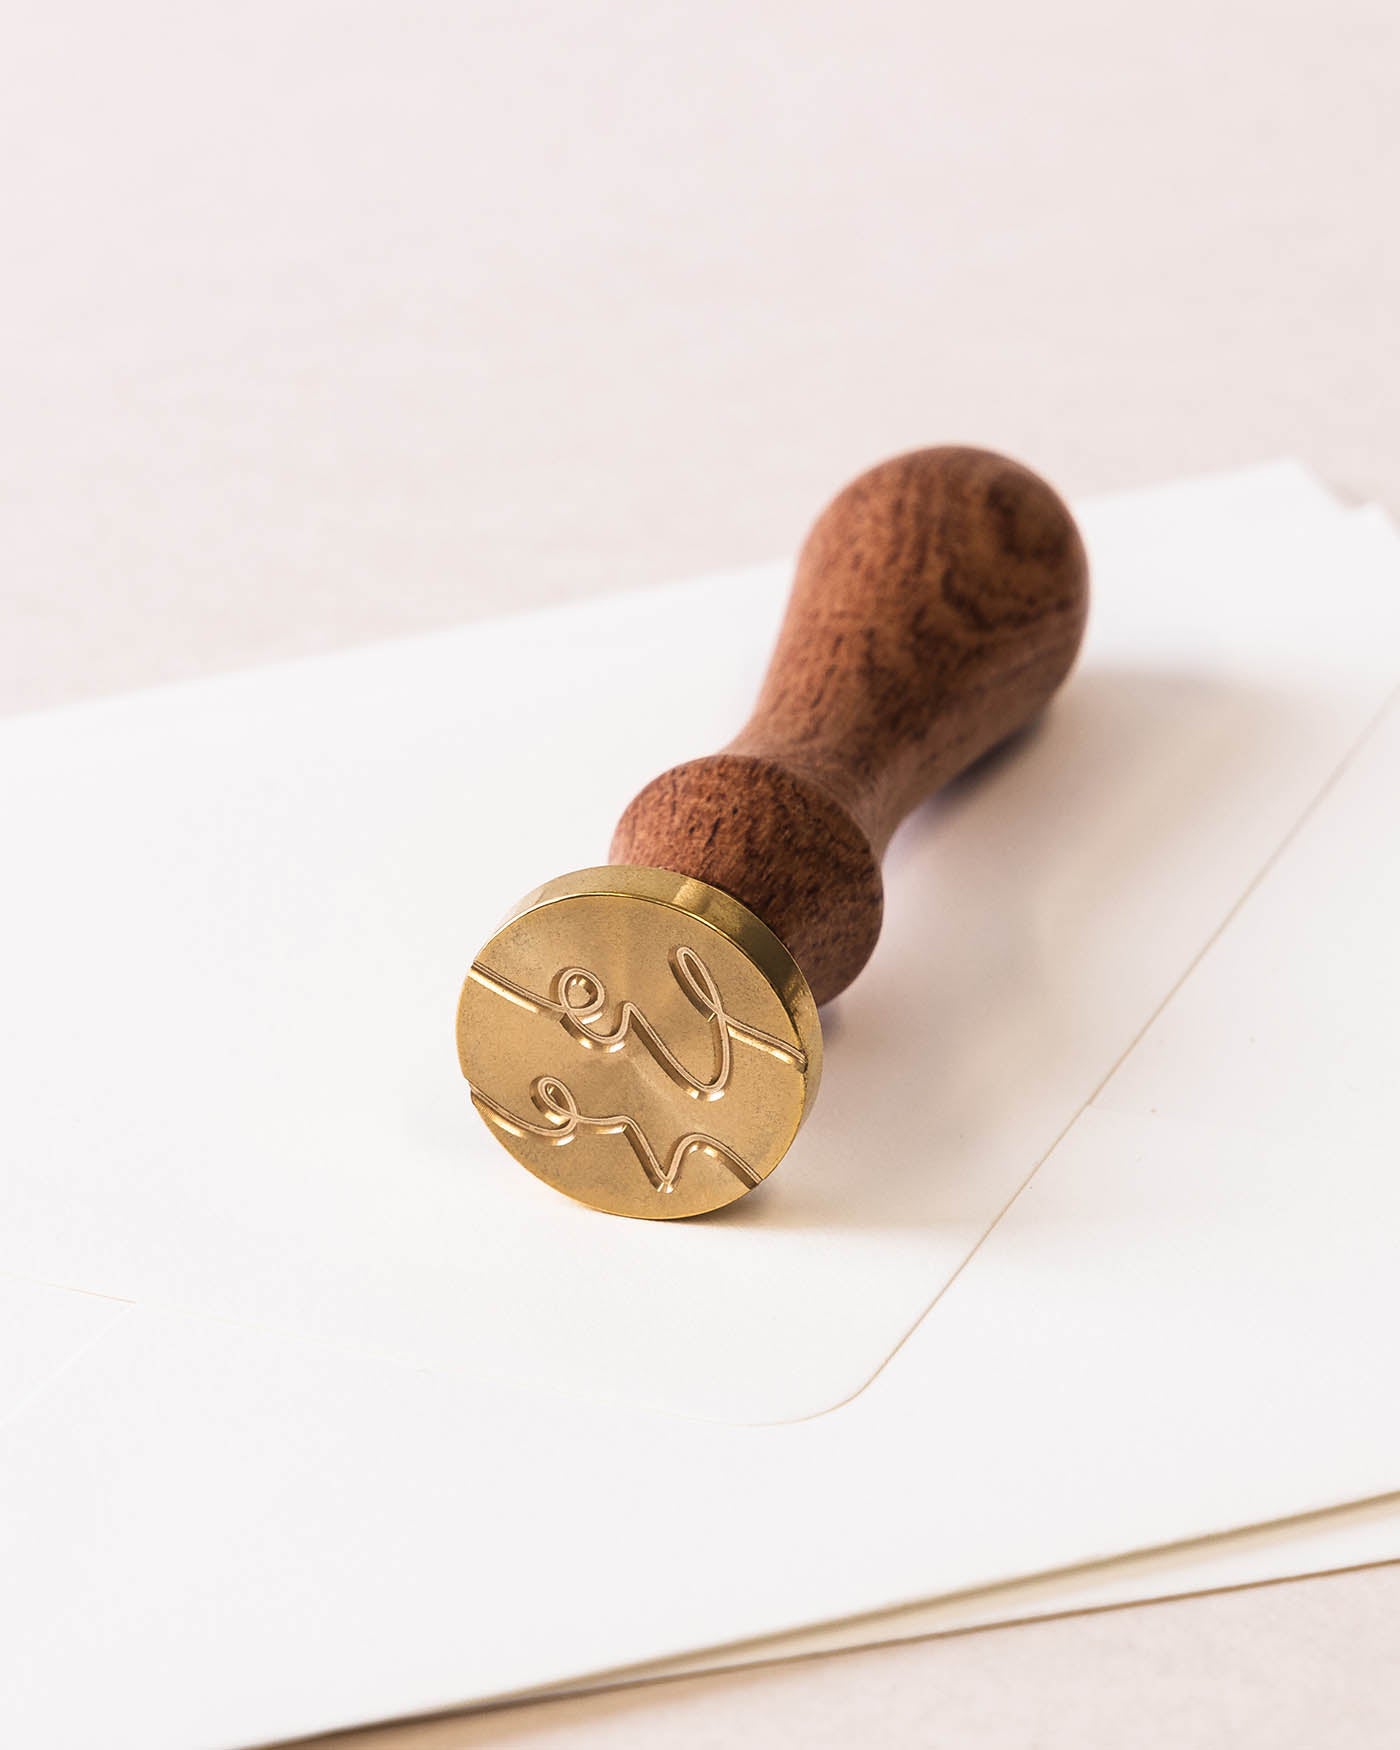
Next, it's time to select a wax seal stamp that reflects your style. Common designs include monograms, initials and decorative motifs like flowers. But there's so much more you can pick.
Wax seal stove
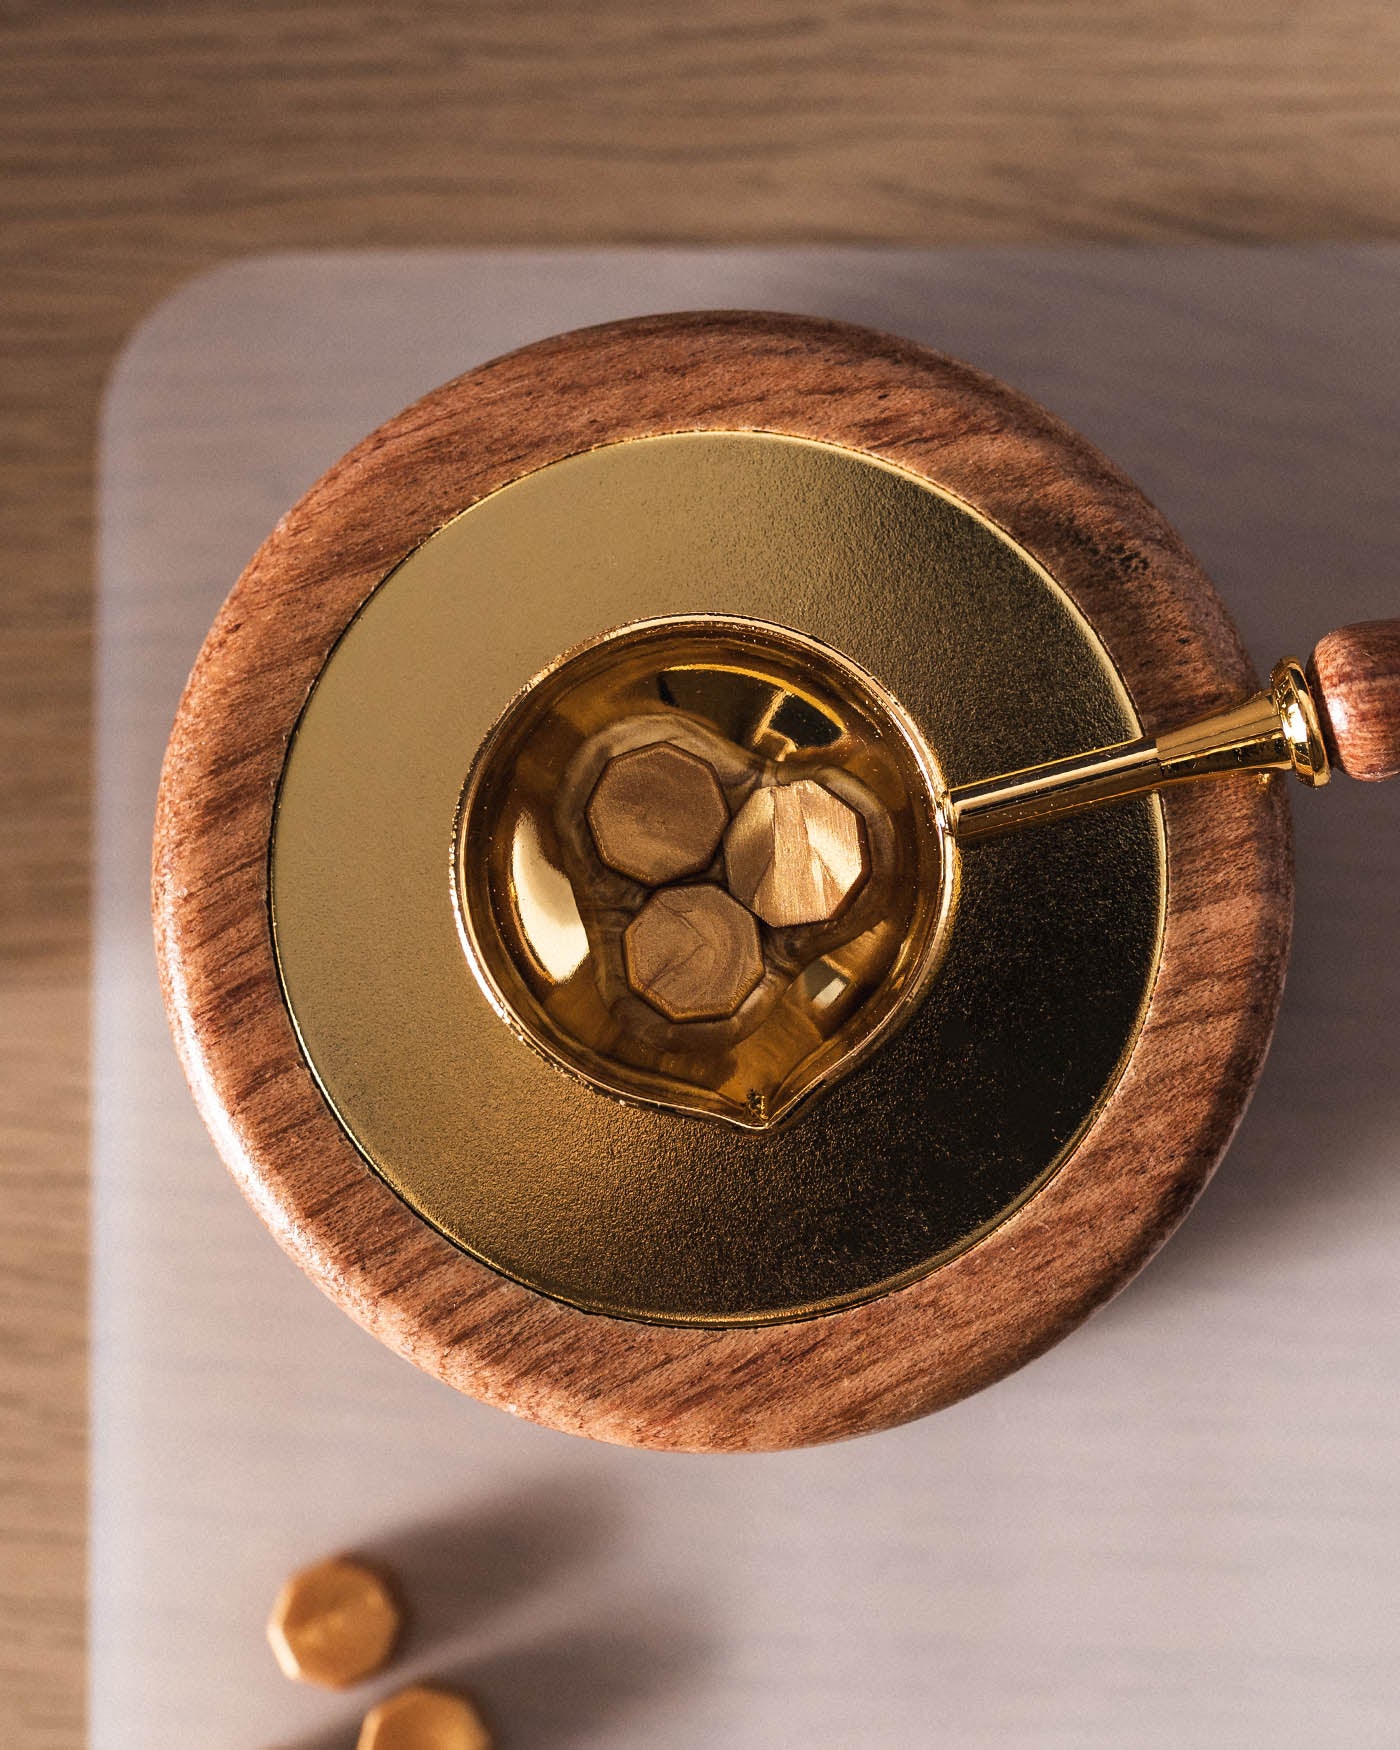
You're also going to need a heat source to melt your wax. In the case of Peppermint Press, this is a wax seal stove.
Melting spoon
If you choose to use sealing wax sticks, a melting spoon is necessary to melt the wax.
Envelopes
Your chosen envelopes, in the perfect colour for your invites and already filled with your completed envelopes, should be ready for you to apply the wax seals.
Optional: toothpick
A toothpick can be used to check the dryness of the wax before removing the stamp.

Making your wax seals
1. Prepare your tools
Gather your wax seal stamp, a heat source (such as a wax seal stove), a melting spoon and toothpicks for checking the wax's dryness.
2. Melt the wax
Collect your wax beads and melt them in a melting spoon.
3. Apply the wax
Once the wax is melted, carefully pour it onto the desired surface of your wedding invitation envelope. Be cautious not to apply too much pressure, as this can make the wax too thin.
4. Stamp the wax
Press your wax seal stamp firmly into the melted wax, making sure to create a clear and even impression. Allow the stamp to sit for a moment to let gravity help set the seal.
5. Check the dryness
Before removing the stamp, use a toothpick to gently touch the wax and ensure it is dry. If the wax sticks to the toothpick, allow it more time to dry.
6. Protect the wax with a second envelope
If you plan to mail the wax-sealed invitations, consider putting your stamped enveloped in a second envelope solely for the purpose of protecting the wax during transit.
How long does it take to make wax seals?
When it comes to buying wax seals, a general guideline is to opt for pre-made ones if you need more than 100 seals. The process can be time consuming, however if you're not short on time, you could make as many as you like!
On the other hand, if you require fewer than 50, we highly recommend making your own seals for a fun and personalised experience! Keep in mind that making a seal takes about a minute, including the waiting time after pressing the stamp into the wax. So, to create 50 wax seals, you can expect to spend about an hour making your stamps as a beginner.
Please note that this does not account for additional time needed to heat up your gun, switch envelopes, or set up your workspace.

Helpful wax seal, stamp and stove tips and tricks
- When applying a wax seal, it is important to be gentle. Avoid exerting excessive pressure as the wax dries, as this can cause the wax to become too thin. Instead, press the stamp firmly enough to create a clear impression, allowing only gravity to assist in the rest of the process.
- Before removing the stamp, it is advisable to check the dryness of the wax using a toothpick.
- Plan on mailing the wax-sealed letters? Consider using a second envelope solely for the purpose of protecting the wax during transit.
- Getting accustomed to the right amount of wax to use and applying consistent pressure with the stamp may take time. It is normal to experience shaky hands, but taking the process slowly will help develop a steady hand.
- YouTube tutorials and Etsy offer a plethora of designs and inspiration to explore!

Create your wedding invitation wax seals with Peppermint Press
Choose to purchase your wax stamp and stove with Peppermint Press, and you'll be presented with all kinds of choices when it comes to the colours and styles of your wax seals.
Each style is matched to our various collections, so there's always a clear and perfectly fitting option to choose. However, if you would like to opt for a design outside of your chosen design collection, that's okay too!
Top tip: If you choose a stamp which isn't too strongly wedding related, you can consider your stove and stamp set a great investment. Ready to go whenever you need to send out letters, you can make wax seals the norm in your future correspondence!
Wax seal colours
When it comes to matching your wax seals with your colour scheme, Peppermint Press has you covered. From dreamy pastel tones to whites, golds and bronze, it's up to you in which direction you take your wax seals.
Find out about the colours available for your wax seals here.
Wax seal styles
Your wax seals can be embellished with all kinds of designs, symbols, patterns, words and more. If you can imagine it, it's likely we have it. From bows, flowers, champagne glasses and palm leaves, to initials, monograms, names and dates, there's an option for all kinds of tastes.

