


Getting your wedding stationery proof for the first time? Cue the excitement as you realise this is really happening! The next part though, is the 'checking' stage, and now you take on the role of a creative director with zero previous experience. Good news: it's easier than it sounds, and we're about to walk you through exactly how to do it. From your very first sample pack to that satisfying click of "approve", in this article we help you proof your wedding stationery designs with confidence.
Understanding the wedding stationery proofing process
Ordering your wedding stationery is a truly exciting part of the wedding planning process, because it's when you finally get to see your colours, your fonts and really your whole wedding theme start to come together on paper.
And when you work with us at Peppermint Press, you're not left on your own scrolling through Pinterest wondering what would work well for your big day; it's a collaborative approach whereby we can advise and bring together your vision.
We achieve that by providing you with a professional designer who will be right there guiding you through every step. So all you really need to do is make the fun decisions. Congratulations, you're basically a creative director now!
However, once the decisions have been made and that first proof lands in your inbox, a lot of couples do hesitate a little. How do you actually 'check it' properly? And what are you even looking for? It's easy to skim past everything and give the thumbs up, because everything looks so pretty and exciting. But proofing is where you catch the small things before they become big issues (a misspelled name, the wrong date, a colour that doesn't feel quite right in person).
So let's walk through exactly how to do it, from the moment you order your first sample pack (more on that next!), right through to hitting approve.

Firstly, did you order a wedding stationery sample pack?
Before we get into proofing your order, let's rewind for a second!
If you haven't already ordered a sample pack, this is your sign to do it, because it really makes everything that comes next so, so much easier.
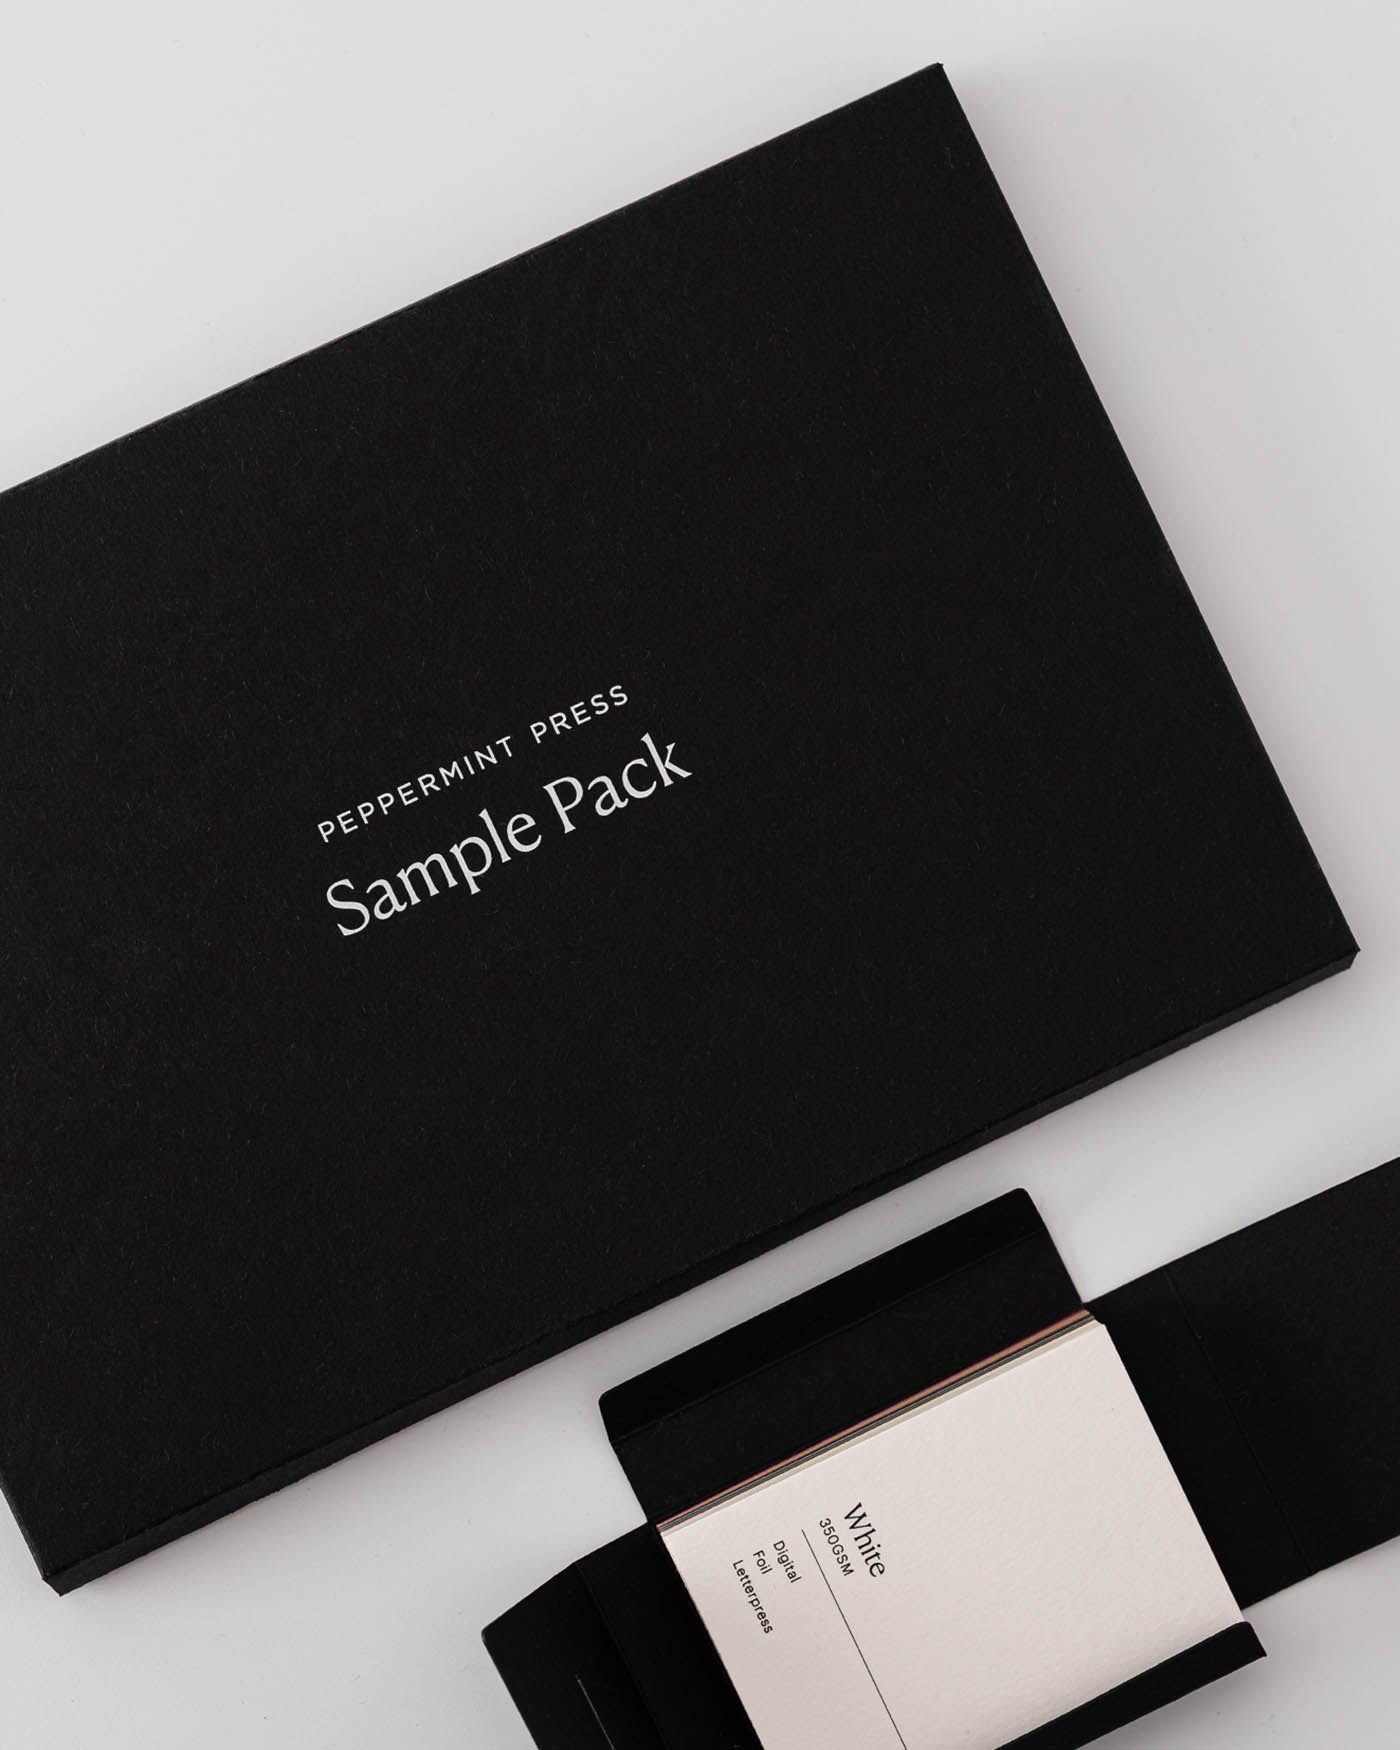
After selecting a design collection (or two?) to test out, we will send you a sample pack (it ships free worldwide!). Inside, you'll get basically everything you need to fall in love with your design collection before actually committing to it. If you don't fall in love with it, then you'll know that ordering it was still a great idea!
Inside our sample packs at Peppermint Press, you'll find:
- A 5-card invitation suite
- A letterpress example
- A selection of on-the-day items, like menus and place cards
- A swatch kit of all our card colours (note: if you order multiple packs, you'll receive one swatch kit per order)
- Wax seals and clips
- A little booklet walking you through our ordering process, timelines and what to expect from us
- And if there's something specific you're hoping to see, a particular colour, a particular piece, just pop it in the notes at checkout and we'll do our best to include it for you.
So now, we come back to the present moment with the sample pack in front of you. It's finally time to begin your wedding stationery ordering process, now that you're not second-guessing what the foil looks like in the flesh, or whether that blush pink is really blush pink enough for you.
Don't forget, that the cost of your sample pack gets credited back once you place your full order, so it's not really a cost at all, more of a very good investment in your own peace of mind!
Grab your Peppermint Press sample pack here.

Drawn to the above wedding invitations? Browse our Union Collection for a bold 2026 look.
The order process in a nutshell
From our 15 years of experience working with married-couples-to-be, we have found that choosing a design collection seems to be the toughest part! From here, it's all about the smaller details.
Here's a little reminder of how it works once you've settled on a design you both love.
Step 1: Place your order
Shortly after you've placed an order, you'll receive our questionnaire via email. This is where you fill in all your event details, colour choices, wording, any inspiration you're drawing from, and anything else you think your designer should know.
Be as detailed as possible so your designer can do their best work for you!
Step 2: Let the design magic happen
Next, it's over to us! Your designer gets to work bringing your vision to life while you sit back and get on with some other 'wedmin'.
You'll receive your first proof via email within three business days. This will be the first time you'll actually see everything pulled together on the page. Very exciting!
Step 3: Refine and perfect
You're not bound to the first design we send you. Two rounds of revisions are included in your pricing, so if something feels a bit off, you've got time and opportunity to get it exactly how you want it before hitting approve.
Take another look at how the ordering process works at Peppermint Press.

Your wedding stationery proofing checklist
And that's precisely where this article picks up! From here, we'll walk you through exactly what to look for and how to check it properly, so when you respond, you know your stationery is right (not just hoping it is).
Check the wording and details (letter by letter)
Slip-ups are easy to make! We'll do our best to make sure there are absolutely no mistakes in your text, but whether it's you or us who has slipped in a typo, it's always a possibility.
The Print Reviewer points out, most couples worry about picking the wrong design, when the real risk is usually a chain of small, easy-to-miss errors, a wrong time here, missing RSVP info there.
Meanwhile, according to Burgh Brides, formal invitation wording has its own etiquette quirks that often get missed (if this is something you care about, of course). Two-word numbers need a hyphen (twenty-two, not twenty two), the year shouldn't include "and" (two thousand twenty-two), and only proper nouns should be capitalised.
Emmaline Bride flags more practical missteps: getting the ceremony start time wrong and miscalculating how many invitations to order, since it's one per household or family, not one per guest.
So this is your sign to read every name, date, time and venue spelling slowly and carefully, especially anything that was typed in manually. As you probably know, it's surprisingly easy to glance over a typo when you already know what the text is supposed to say; your brain fills in the gaps automatically! Maybe try reading it out loud, or better yet, get someone else (a partner, a parent, a bridesmaid) to read it too.
Check your colours in natural light
Screens lie, or at least they are known to exaggerate when it comes to colour. The royal blue on your laptop might look more navy on your phone, and neither may match what gets printed.
But this is exactly why your sample pack matters here. Pull it out, hold your swatches up against your screen in natural daylight (not under artificial lighting) and compare. If something feels off, feel free to flag any colour topics or issues with your designer and they will be happy to help.
Check the layout and spacing
One of the most important things you can do is look closely at how everything fits together on the page, coaster, invite, menu or whatever your stationery item might be.
Is any text sitting too close to the edge? Does anything feel cramped, unevenly spaced, or like it's about to be cut off? Our professional designers will always anticipate actual issues here, but it's worth double-checking how the spacing feels, especially around borders.
Cross-check for consistency across pieces
Many of our couples order more than one item. It might be that they've got invitations and a seating chart to check or perhaps menus and place cards. So with lots to proof, check that fonts, wording style and colours all match up across each piece.
It's easy to focus on one item at a time and lose sight of how they'll all look together, but that's also important! Take a moment to lay proofs side by side (even just as PDFs on your screen) and check they feel like one cohesive suite that you love.
Don't rush and feel free to use your revisions
You've got two rounds of revisions included in the cost of your stationery, so don't settle if you feel there's something small you want edited.
There's no prize for approving on the first round! We find that our couples are far happier after asking for just one more tiny tweak, because noticing something small on already printed stationery can be a problem.
Take your time, sit with the proof for a day if you need to. We are here to make your wedding stationery perfect!

The final steps of the process
Once you're happy with everything and hit approve, the real Peppermint Press magic starts as your stationery goes into production!
Depending on your chosen print method, this process takes anywhere from 1 to 3 weeks. You might know from reading our 'how it works' page, that digital printing is the quickest at around 5 to 10 business days, meanwhile foil and letterpress take a little longer (roughly 15 business days, given the more intricate process involved).
Once printing is complete, we will check over everything, pack up your wedding stationery and ship it right over to you.



